April 15th, 2001
Bunny Day!
Happy Easter, folks! He is risen!
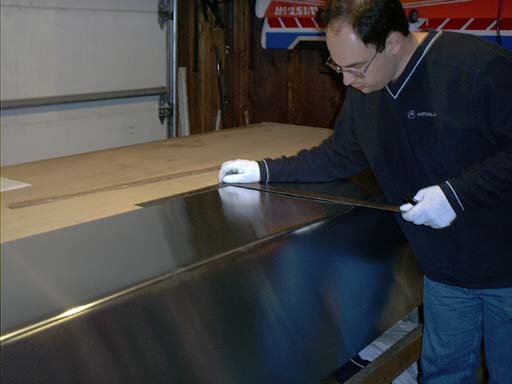
Since today is, obviously, Easter, I got to have Fun with Family Events. Net result; not much work on the airplane. I did enlist the help of Melissa and my friend Sean to help move the stabilizer into the dining room, and the skin onto the work bench. The skins are tough to handle alone, as it's REAL easy to damage .016 aluminum sheet. This ain't no Mooney! I'm going to try to not think about how flimsy that skin is on my first flight. I know it works! I've flown one, so I know it works! It just doesn't make sense, but then again, neither does the fact that Bumble Bees fly. Since Chris Heinz is the one with the Engineering degree, I'll put my trust in him! <grin>
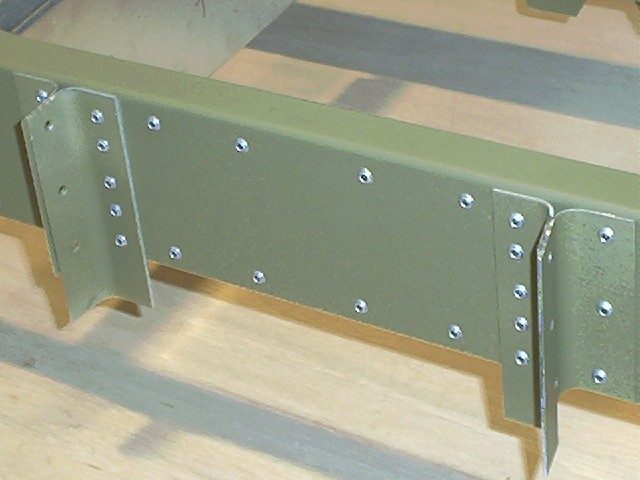
Anyway, the first task with the skin is to determine where the centerline is. Best way I could figure to do it was to measure the skin at the end and near the bend to ensure that the sides were cut square, then measure out the middle of the skin, and use a large Carpenter's Square to make a straight line. I then re-measured my line to ensure that it was the same all the way down the skin. I then measured 10 mm in from the end of the skin as the rear spar rivet line, and I measured and drew a line at the front end of the front spar. The first thing I had to establish was where the cutouts had to go to clear the front stabilizer attachment brackets. These poke out of the bottom of the stabilizer and affix the stabilizer to the fuselage.
I wanted to make darn sure that I got these cutouts right, so I did a ton of measuring. After that, I made a template with a piece of notebook paper to ensure that my spacing was correct, and it was dead on.
I did find out that my initial suspicions about the last set of ribs in the stabilizer skeleton being shorter then the middle ribs to be true. The ends of the spars were pinched in a touch. The middle of the stabilizer is 305mm between the spar webs, and the ends are 299mm at one end and 301mm at the other end. In terms of a rivet line, this shouldn't prove to be much of a problem, as the net offset 3mm and 2.5mm respectively, which still allows me to keep a straight rivet line and not fall outside of minimum edge distance on the rivets. The only concern I have is that the piano hinge that attaches to the elevator is straight and will need to remain so. We'll see how this works out when the time comes.