April 14th, 2001
Fun with deburring. After all that hard work assembling the stabilizer skeleton, now I get to take it apart and prepare the parts for permanant assembly. Part of that process is a fun little thing all metal aircraft builders love to hate... Deburring!
Yes, that's right. All those holes I drilled the last days? Now I get to go back to each one and make sure that the holes are clear of any burrs. This is best accomplished using a large drill bit (1/4 inch) and giving it a light spin with your fingers in the hole. This typically will clear all but the most stubborn of burrs. Some needed some attention with a file. Besides being a time pit, this process isn't particularly difficult. It's a great way to get others involved in the project too, at least until they catch on that this part of the project sucks the most!
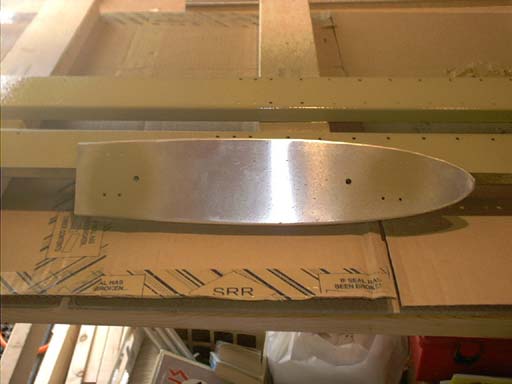
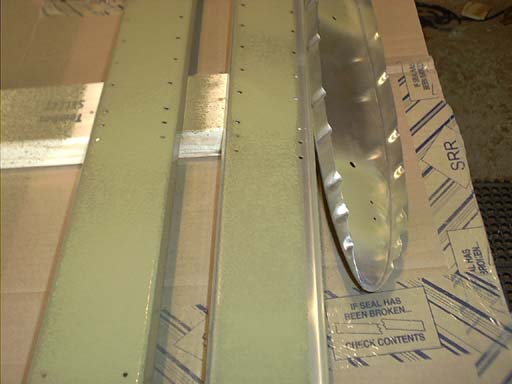
Once the deburring was done, primer was applied. Most builders choose Zinc Chromate as the primer of choice. The real problem with Zinc Chromate is that it's a rather harmful chemical, carrying with it come significant exposure warnings.
The guys at the Zenith factory abandoned Zinc Chromate after one of their employees had an adverse reaction to it while preparing the pre-built spars. The alternative they chose is from a company called Cortec, called VCI-373. This stuff is easier to apply, safer for the environment and you, and cleans up with soap and water. I managed to get some from the factory, but I think I'll need to make further purchases from Cortec. I imagine a gallon of this stuff would be enough for two airplanes, unless I decide to coat the entire inside of the airplane with it. Probably not something I'm going to do, as 6061-T6 is pretty corrosion proof already, and in an airplane, every ounce counts.
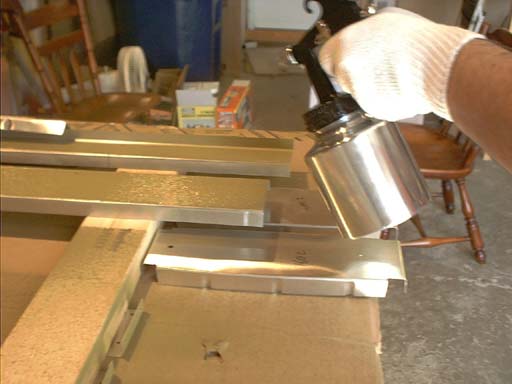
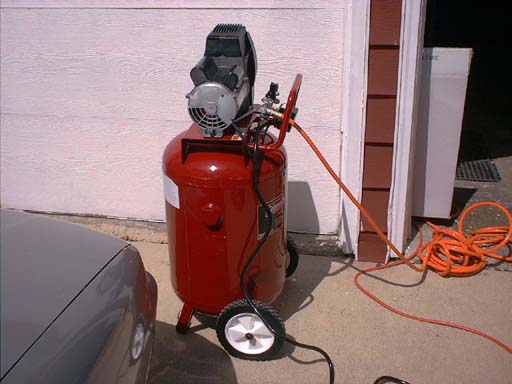
Of course, the best way to apply this stuff is via an air sprayer. This is by far the most economical way. Enter my trusty Craftsman air compressor. Well, actually exit my trusty Craftsman air compressor. This thing sure works great, but it's about as loud as a Who concert. I managed to somehow end up with 100 feet of air hose (they don't do ANYTHING small at Costco!), so out the door the compressor went.
After the primer dried (and I realized that I had missed stuff, so I had to prime some more, and wait), I set to work reassembling everything. Of course, before priming, I had to clean all the parts with laquer thinner to get my grimy finger prints off it. The Cortec does not adhere to finger oil or ink at all, and runs off in beads upon encountering any of it. Anyway, there were no longer any stickers, markings, references... nothing on these parts. Luckily, I had them in some semblence of order on the bench, but there was a few times where I had to turn and flip some parts to make holes line up. Once everything was back together and I confirmed that everything was as it should be, I began the task of riveting.
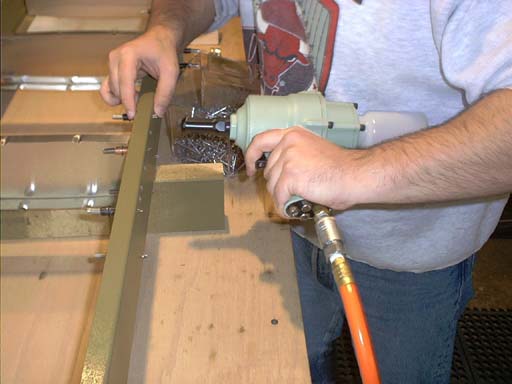
Now, the minimum tool requirements for this project are, among other things, a hand operated riveter. Technically, this is true. Technically, Windows98 will work on a computer with a 33Mhz processor. I wouldn't want to try either of these for long. I spent about $300 for the air compressor, the paint sprayer and the rivet gun, and it's been the best $300 I have spent on this project, easily. An A5 rivet takes 4 to 5 squeezes with the manual riveter, and this takes about 10 seconds to set. It takes me no effort and 1 second to set an A5 with the air riveter, and it's a much better rivet to boot. Get one of these if you value your sanity. It's not about time saved, it's about the frustration of not only taking forever to rivet something but having to drill out a significant amount of rivets set improperly. Yes, it's possible to screw up a rivet with the air riveter, but much less likely.
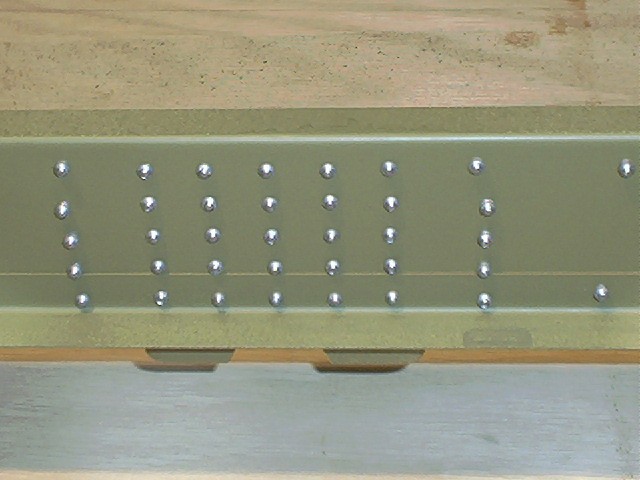
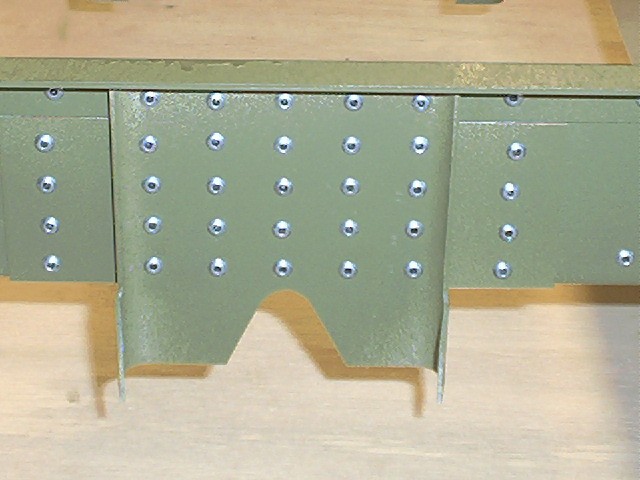
A majority of the stabilizer skeleton is held together with the larger A5 rivets, with the ribs the only thing using the A4 rivets. Since this was the case, and since the holes in the end rib brackets were hard to get to, I decided to use the smaller hand riveter on the A4 rivets. These are significantly easier to pull with the hand riveter, needing only 2 or 3 pulls to set. However, the angle to get at the tip rib brackets were aweful, and the rivets that I set there were pretty ugly. These are not really "structural" rivets, though, so I decided to leave them as is. The end rivets will have a rivet through the skin every 35 mm, so there'll be plenty of security to make sure that rib goes nowhere...
Once all the part were riveted, I moved the skeleton off of the build table to make room for the skin, but didn't move the skin. This whole operation took about 6 hours, and I was beat. It was tough to stop here, but one of the cardinal rules of building something like this is to not work at it when you're tired.